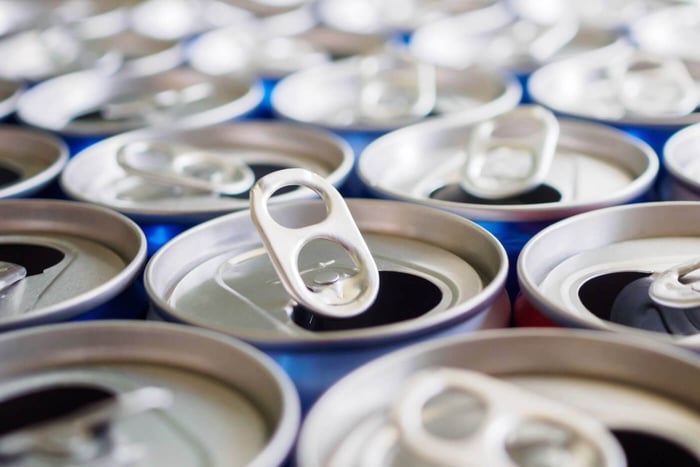
The World Counts reports that "the consumption of beer and soda uses roughly 180 billion aluminum cans annually. This equals 6,700 cans each second, or 17 hours to circle the earth."
In addition to being a common household item in the United States, Soda cans also frequently end up as litter on our streets, highways, and in dumps.
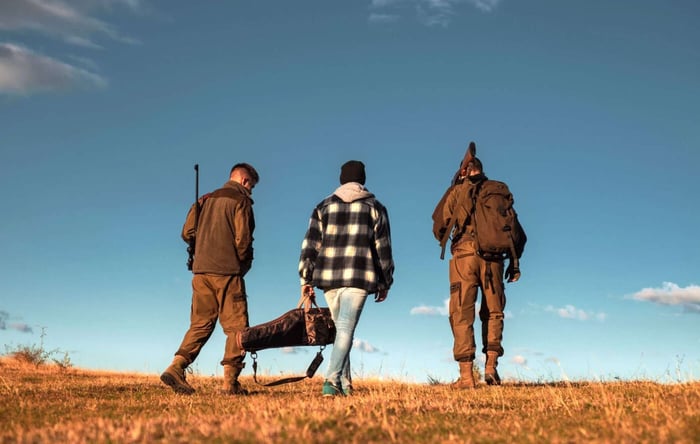
What's worse, you come across trash that irresponsible people have left behind while hiking in a remote area with pristine scenery. But that trash may appear much better if you are battling to survive in the same wilderness.
A soda can is one specific item that is easily accessible even in remote regions and has the potential to be helpful in a wilderness survival scenario.
How to Work with Soda Cans?
Soda cans are a good material and shape for survival tools. Because it is made out of aluminum that is thin and simple to cut, pierce, and reshape.
Cutting the Aluminum
Starting a cut with a knife is the simplest way to cut into an aluminum can with tin snips or scissors.
Then you start cutting by inserting the shears into the slit. If you have a knife, cut the slit with a sawing motion.
Many of these concepts call for fusing two can halves. To force-fit them, you must crimp the rim of one of those halves. Although needle nose pliers work best, you can make do with a split in a stick pressed against the edge of the can rim and then twisted.
A piece of aluminum will eventually shatter along that seam if folded back and forth repeatedly. It's good to know if you can't cut your can.
Making Holes
Using a nail, you can make holes the quickest.
A stick that has been sharpened to a point and had its tip hardened in a fire serves as an alternative. You have two options:
- Hold the can and punch a hole in it.
- Set it down on something hard, like a log or a stump, and hammer the point firmly with a rock.
Securing the Edges
Even though we occasionally wear gloves when dealing with sheet aluminum, we don't always, particularly on our lips.
If you handle any exposed aluminum edges or put them to your lips to sip water or blow a whistle, try to give them a slight fold-over.
Covering the Can
You can do a lot with waterproofing your can, including creating a flask for carrying water, if you had the initiative to securely roll and pack a yard of 1/2-inch wide duct tape in your survival kit.
If you need joints or hinges, a little piece of aluminum can be cut, bent, and pounded flat with a rock.
Keep in mind that the edges of the aluminum soda cans are sharp, so you must exercise caution when handling them.
13 Uses of Soda Cans
Improvisation is an essential skill for survival, and soda cans are one of the top things you can think of.
With that, here are practical uses of soda cans in any outdoor situation.

1. Fire Starter
You only need a soda can to start a fire if it's sunny. The bottom of the can should be thoroughly cleaned until it sparkles. Place your tinder between the sun and the polished bottom of the can, but keep it low enough not to block the sun. It should be a few inches away as you move it back and forth until you find the area that is the most heat.
Establishing the fire with the can as the base:
You can use a soda can as the base of the fire if it isn't sunny, the breeze is too strong, or it is pouring rain. The heat will rapidly and effectively maintain the inside of the can. Use suitable tinder, such as dried grass, pine cones, or candles.
2. Tinder Trap
To effectively start a fire, you must have dry, flammable tinder. This is especially true if you're lighting a fire with a fire stick or some alternative fire starter. Great tinder can, unfortunately, be hard to get.
Whichever way you get your tinder, it's critical to keep it as dry as possible, and it's ideal if you can store any extra. This idea of a tinder trap gives you a re-sealable, weather-resistant container for tinder and serves as the basis for various other concepts.
Materials:
- Two soda cans
- Knife or scissors
- A split stick or a pair of needle-nose pliers
Directions:
1. Cans should be cut in half.
2. The pieces with the pop-top opening should be set aside. The two-can bottoms are what you want to use.
3. Crimp the edge using the needle-nose pliers or repeatedly twist the split stick along the edge of one of the cut cans.
4. Put your tinder in the crimped-edged can's bottom.
5. Grab the uncrimped half of the can and place it on top of the crimped can at the bottom. Push the two together until they are firmly sealed.
6. Twist off the top to unlock, then take out your tinder. To make it simpler to use your fire stick or to drop hot coals from a bow and arrow drill and blast your tinder into flame, you can also use the bottom of one of the cans to store your tinder in a dry, elevated position.
3. Stove and Heater in One
One of the most excellent and practical uses for an empty soda can is to make it into a cooking stove. This concept might seem complicated, but it is relatively simple.
If you have constructed any other soda can tools, you know some of the construction steps.
It requires a flammable liquid, which could be an issue in a desperate survival situation. Still, it is surprisingly efficient as a stove and a heater after a power loss caused by a natural disaster or similar household emergency.
With this idea, you can heat a small space while cooking. As the alcohol burns, it releases gases and consumes oxygen like any open flame. Enclosed places should have some ventilation. Outside, there are fewer problems.
Materials:
- Two soda cans
- Knife or scissors
- Knifepoint or nail point
- A coin or a stone
- Spirits or rubbing alcohol
- If accessible, fuel-holding materials like dried peat, lichens, moss, or fireproof insulation
Directions:
1. Cut off the top quarter of each can.
2. Crimp the edge of one of the can bottoms.
3. Create five holes in the center of the second can and holes around its rim.
4. Stuff with insulation, cloth, cattail fluff, dried moss, or lichens.
5. Add alcohol to the crimped bottom.
6. Overlap the crimped bottom with the other can half with the holes.
7. Add some alcohol to the area and light.
8. Place the coin or rock over the holes in the center after igniting.
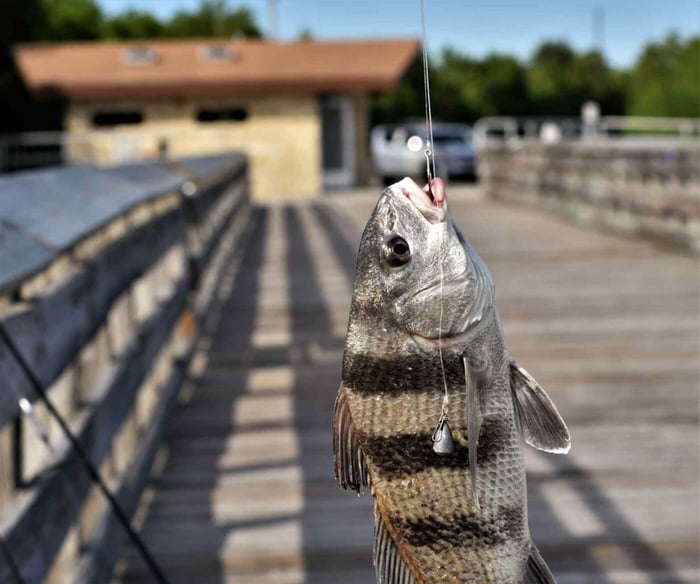
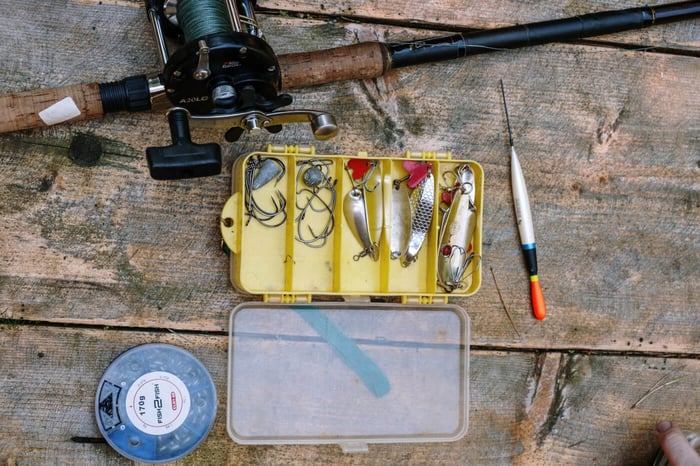
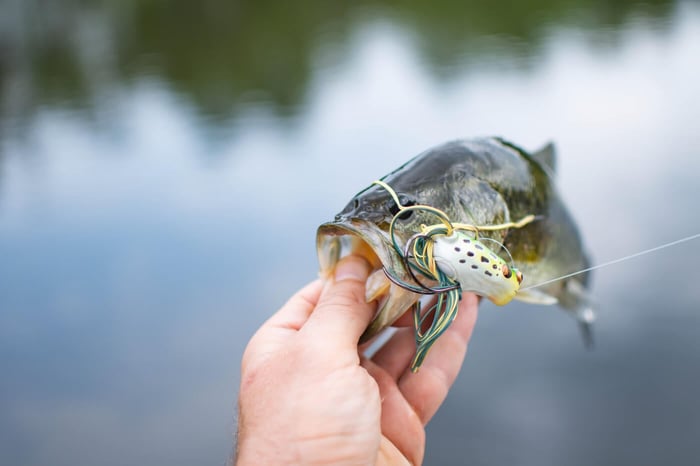
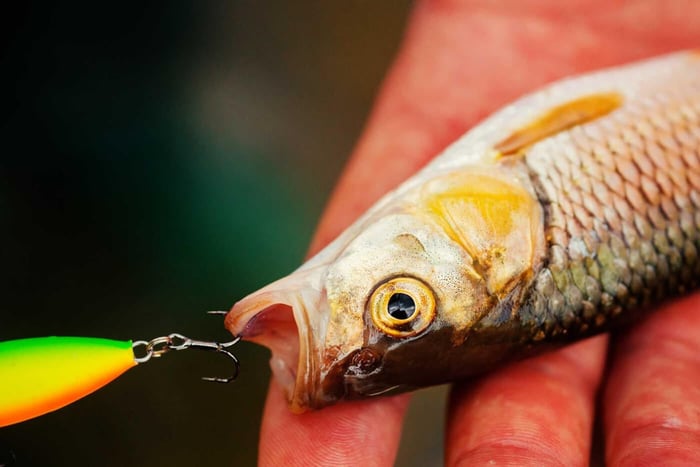
4. Fishing Hook and Lure
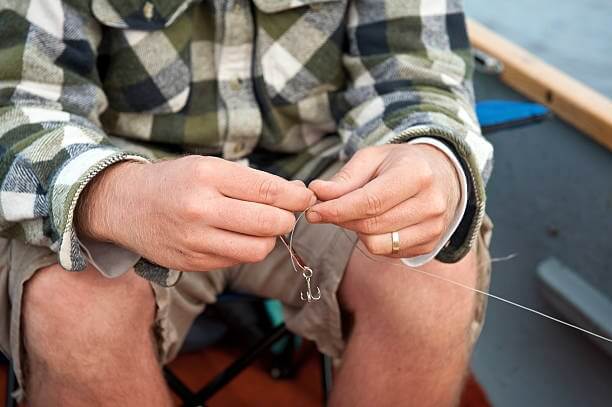
Fishing only requires a little expensive gear. You can make a fishing hook from a soda can from the pull tab.
Any fisherman would look at it skeptically, but it might be worthwhile if it's your only option. This assumes that you might have some fishing line, and if you were wise enough to include a fishing line in a survival kit, it stands to reason that you also have included hooks.
Fishing Hook
Materials:
- One soda can
- One multipurpose knife
- Any sharp object you can use to strike something
Directions:
- From the can, remove the tab.
- Place the tab down on a sturdy surface.
- Place your blade on the tab at a 45-degree angle (give or take).
- Use the sharp object to strike the blade's top.
- At the same angle, advance the blade 14" down the tab.
- Use the sharp object to strike the blade's top.
Notes:
Instead of using a knife, you can use wire cutters. You can further sharpen the hook's edge with a file or a smooth rock to increase its effectiveness.
Fishing Lure
Now that you have a hook, you can start fishing, but finding a bait to draw a fish can be challenging. You may also turn your can into a fishing lure with extra effort.
Materials:
- Remains from the can's center
- Knife
- Straight edge
- A fishing line
Note:
Remember that the huge central piece of metal will be used to make the final survival tool, so do not damage or throw it away.
Directions:
- Put the can's center flat on the work surface.
- From one side of the aluminum piece, trim a 3" strip.
- Carefully score the strip's width at the center of the piece.
- Cut 3/16" strips lengthwise across the entire piece using the straightedge.
- Make a little hole in the middle of each strip's score.
- Fold the strips along the score line with the shiny side out to produce a steep arrow shape.
- Put a few knots 6 to 8 inches up the end of your fishing line.
- One by one, thread the line through the opening in the strip, pushing the strips upward until they reach the knot. Tie more knots if the knot is smaller than the tab's hole.
- Once you've threaded the hook up to the final strip, tie it off.
You now have a hook-equipped fishing lure.
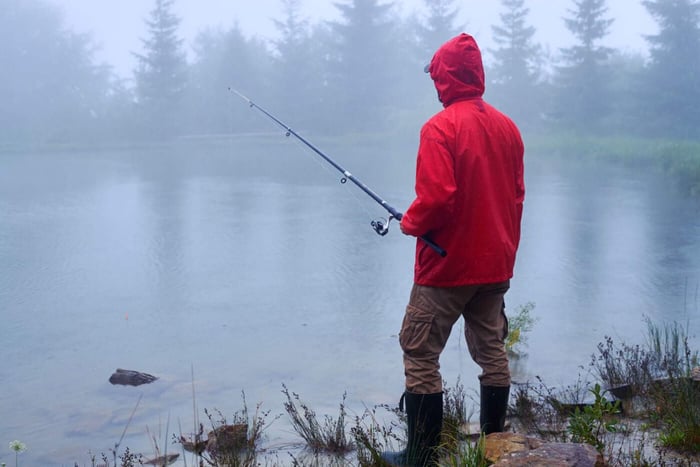
5. Water Purification
Many compact, pre-assembled survival kits appear to include everything. Sadly, they frequently fail to adequately collect, purify, and store water.
The situation can be saved with little effort if you have an aluminum can. You can use it to boil water from a natural source for at least three minutes, which is advised for purification. All you need to do is grab the can, add water, and light the fire.
Materials:
- One aluminum can
- One 12-inch-long sharpened and peeled stick
Directions:
1. Make two holes in the can at the top. While removing it from the fire, you'll put the stick through these holes.
2. Place the can on or close to the fire, filter the water through some fabric, and wait until the water boils.
3. After at least three minutes of boiling, carefully take the can off the flames by inserting the stick through the holes.
6. Signal Mirror
Making a mirror signal out of a soda can come in handy if you become lost in the bush and need to call for assistance.
The good news is that this improvised gadget only requires minimum work on the can. An aluminum can's bottom will work as a signal mirror but must be polished. Just polish the concave bottom of the can; nothing needs to be cut or crimped.
You can use mud, clay, toothpaste, chocolate, or other natural materials as polish. Prepare a paste, rub it, and buff it with your fingers, moss, or fabric. As you continue, evaluate your progress and attempt to reflect the polished can bottom into the ground and adjacent trees.
You can successfully signal when you are satisfied. All you have to do is locate anything or someone far away who can see it.
7. Alarm Device
You must defend yourself from strangers and animals if you find yourself in an unknown area. Making a soda can alarm system is a straightforward way to accomplish this.
If the cans are stacked around the perimeter, it will be easier for an attacker to access your camp silently.
Alternately, you may use soda cans to make hanging alarms for your entryways that sound when someone enters or exits the house.
8. Drinking Cup
One inventive way to reuse a soda can is to transform it into a different drinking cup.
Making a cup out of something intended to contain liquid may seem odd, but a handle is practical when sipping hot beverages like pine needle tea.
A fold along the cup's lip edge is crucial in this situation. Cutting your lips when taking a quick sip of tea is not a good idea because aluminum has incredibly sharp edges.
Materials:
- One soda can
- Knife or shears
Directions:
1. Remove the top third of the can, leaving a 1-inch-wide strip that extends to the top.
2. Make 14-inch slits every inch down the top of the cut to make bendable tabs.
3. To make a smooth rim, bend the tabs inward.
4. To create a handle, bend the metal strip downward.
9. Hanger Hook
Because they are exceedingly strong and challenging to break without shears, pull tabs like those seen on Soda cans can also be useful in survival scenarios.
They, therefore, function incredibly well as hanging hooks. Combine a pull tab with rope or paracord to create a powerful tab suspension hook.
10. Wild Forage Storage
Simply put, this is another use of the tinder trap/canteen idea. One of the cans is subjected to a second round of rim crimping before being forced together.
The good news is that, unlike a canteen, you do not require a watertight seal. If you obtain a good fit when you force both sides together, you might overfill both sides of the can.
It works well for gathering and carrying foraged items like wild berries, sprouts, and other foods while you hike, forage, and try to leave the area you are in.
11. Planter
Unlike a typical planter, soda cans could grow plants on nearly any surface. And it's simple to accomplish. After cutting off the can's top, you may put your seeds and seedlings inside. Each planter can be covered with plastic throughout the seeding process.
Hot Temperatures
For the planter cans to reflect heat outward, paint them lighter. The paint will lessen moisture evaporation while keeping the plant's roots colder.
Cold Temperatures
Paint the planter can black to help it absorb the sun's heat.
12. Candle Lantern
Candle lighting can be protected by shaping soda cans in various ways.
The soda can serves as weatherproofing and a casing to hold the candles securely so they won't fall.
One approach is to cut the can to make a lantern with the candle sheltered from the weather on top and bottom.
Another technique is to put a candle on the base of a soda can with the top cut off. Make multiple puncture holes on the can's sides with a sharp object to create a lantern.
13. Self-Defense Weapon
You know how painful it can be if you've ever cut yourself on a sharp aluminum can edge.
You can construct a weapon out of aluminum by cutting it into triangular pieces, joining them to a piece of wood, and just cutting the soda can and exposing its jagged edges.
Do it yourself
Try a few of these suggestions to get the feel of working with sheet aluminum. After success, devise other ways to use a soda can to make everything you need to survive in the wild.